1. Focus on the eyes
If you remember one thing, make it this. A portrait reads as alive when the eyes are sharp. A slightly blurry ear or tail is fine; soft eyes are not.
- On most phones, tap the pet's eyes on the screen before you take the photo. That sets the focus and usually the brightness too.
- Hold still and take several shots. Pets blink and shift. Of ten photos, two or three will be sharp.
- Avoid portrait mode if it blurs part of the face. It sometimes cuts into ears and whiskers.
2. Use soft daylight
Light decides whether the fur shows texture or turns into a flat patch.
Best: a bright window with the pet facing it, or open shade outdoors on a sunny day, or any outdoor spot on an overcast day.
Avoid: direct midday sun (hard shadows, washed out light coats), the camera flash (flat face, glowing eyes), and a window behind the pet (silhouette).
Our sample photos were all taken in ordinary homes and yards, in daylight. Goldie's photo, the one at the top of this page, is a typical example: a living room rug, window light, nothing special.
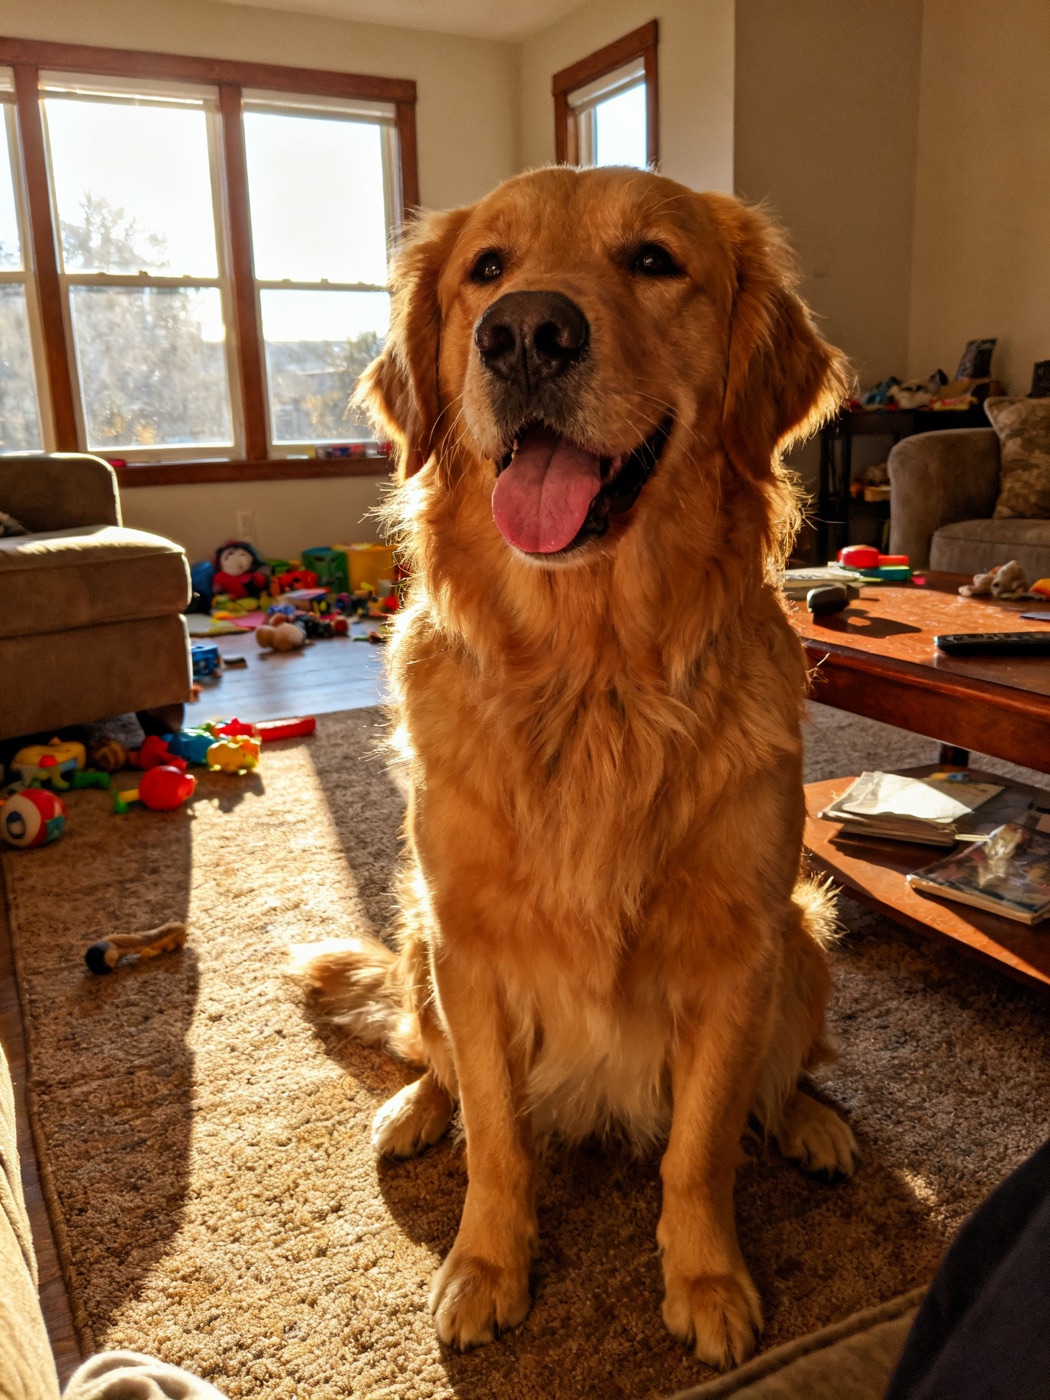 The phone photo Goldie's portraits started from
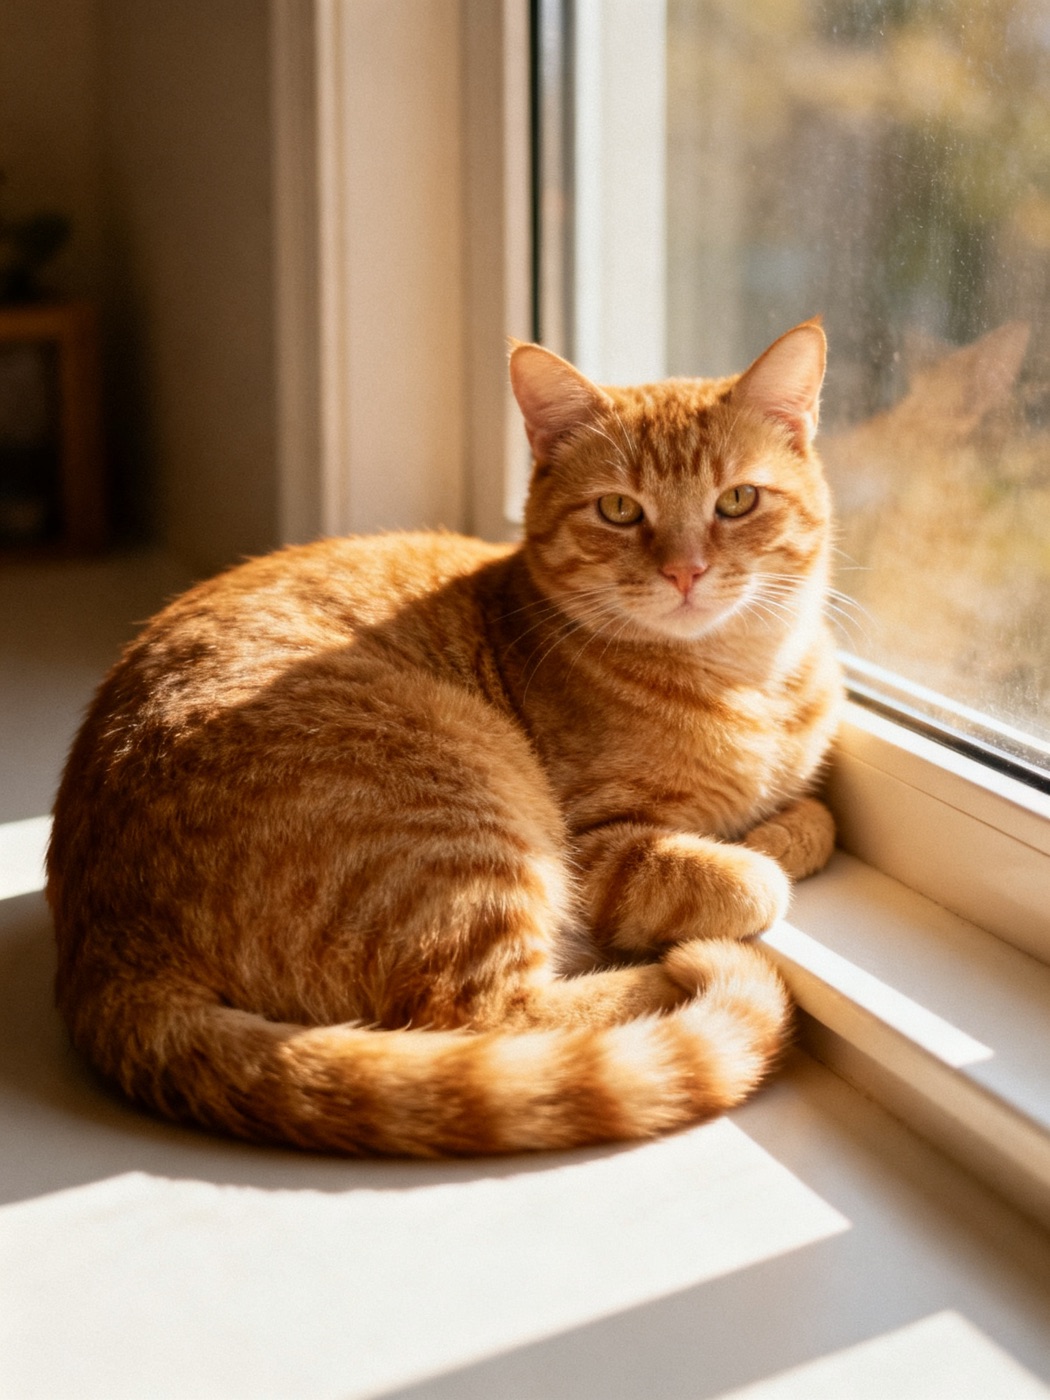 The phone photo Milo's portraits started from
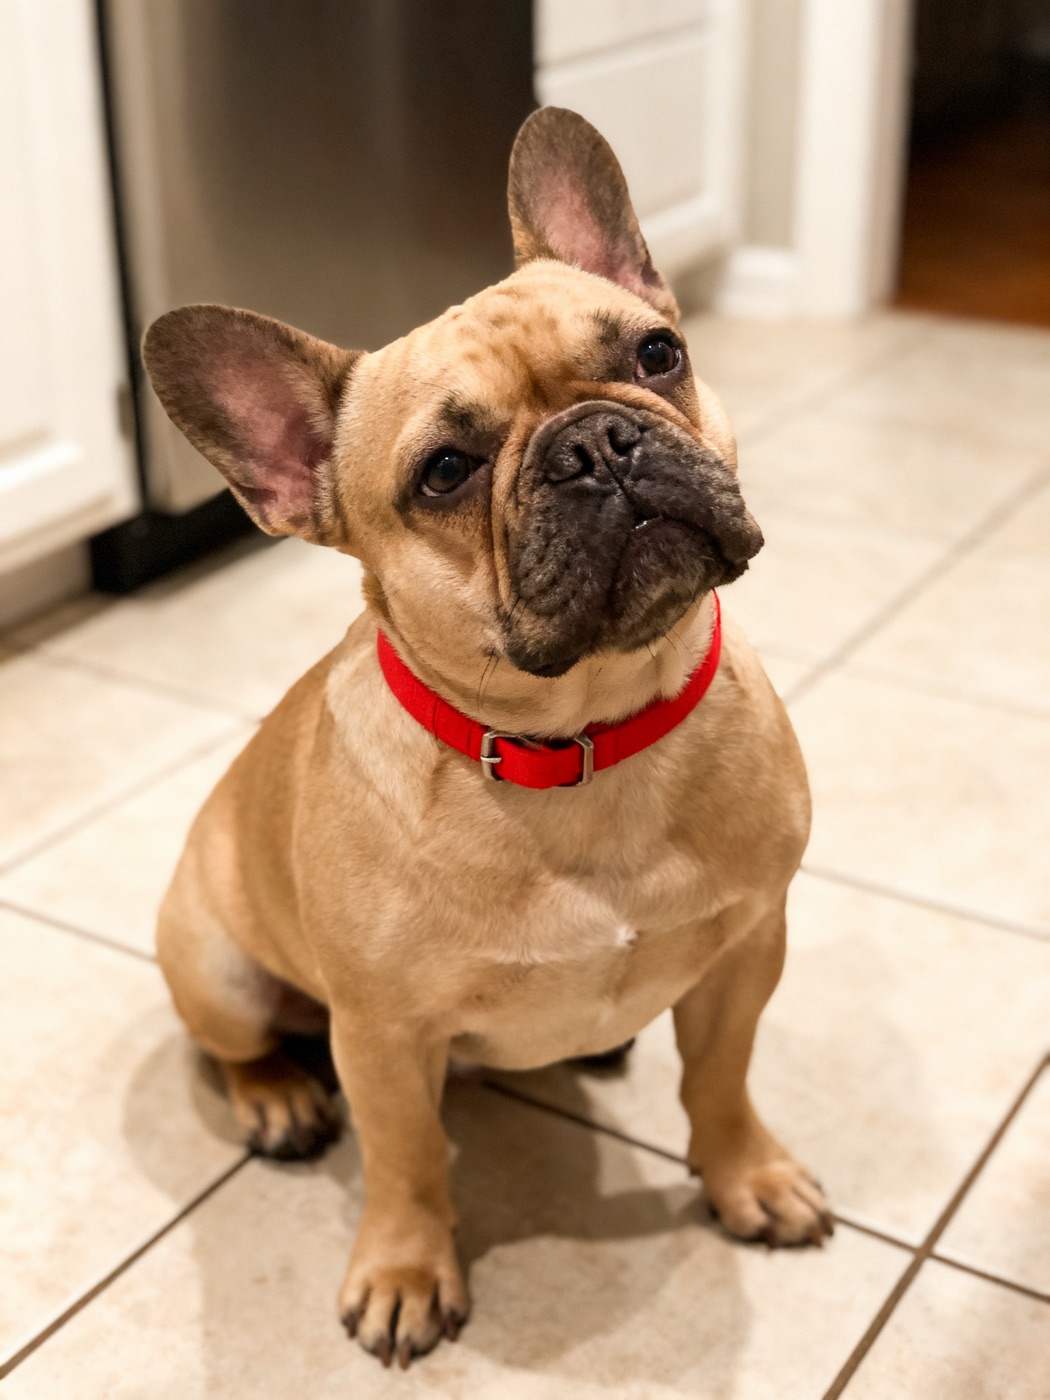 The phone photo Biscuit's portraits started from
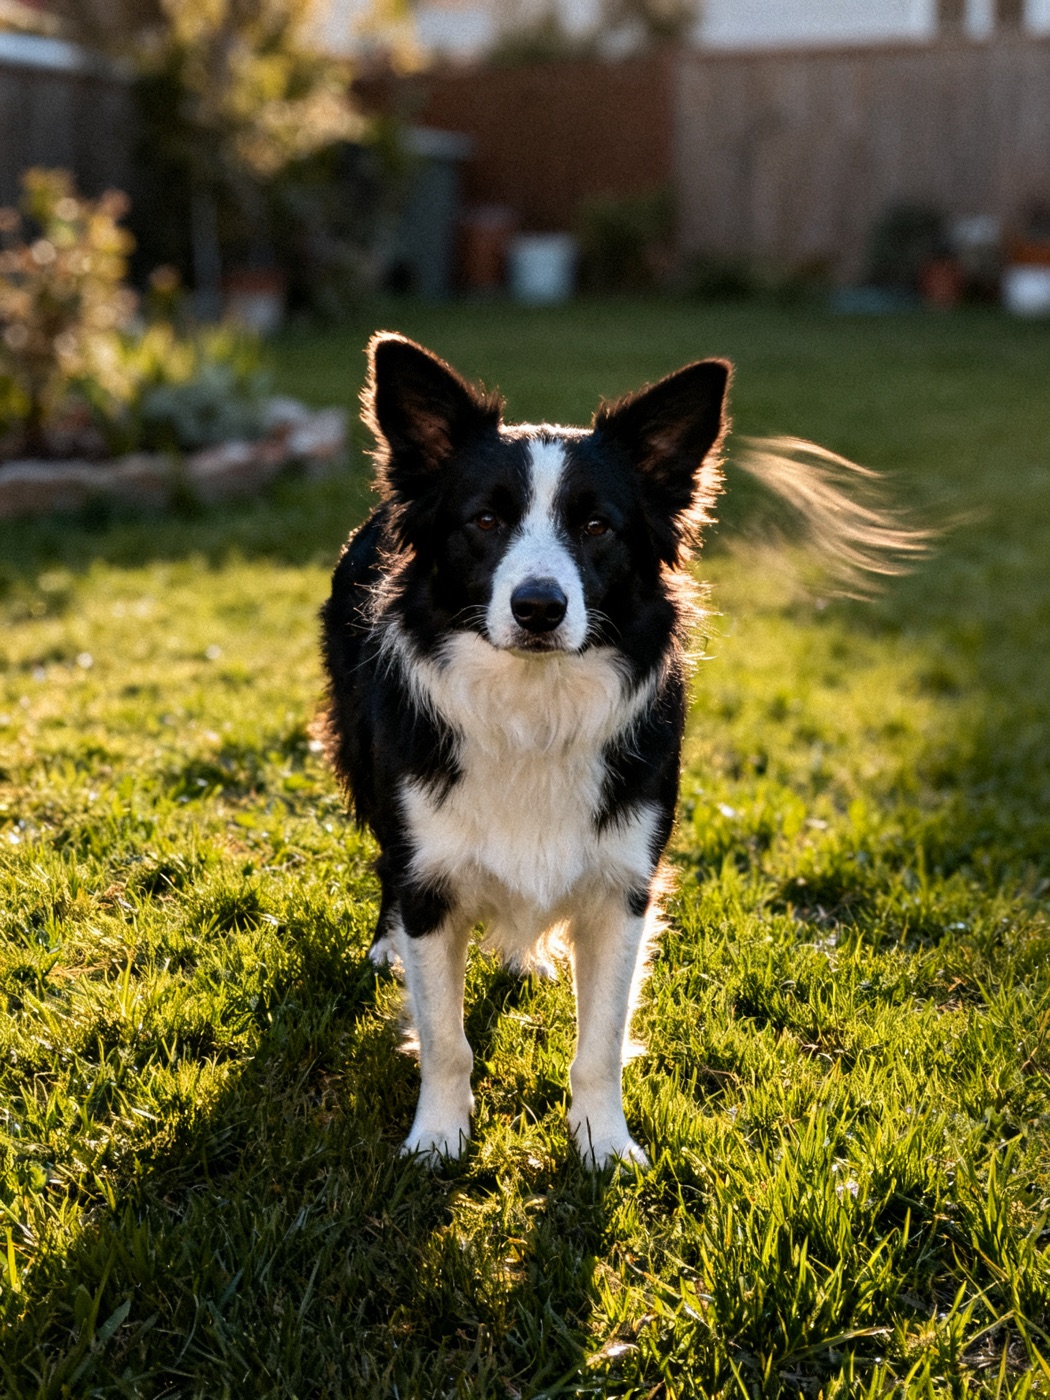 The phone photo Pepper's portraits started from
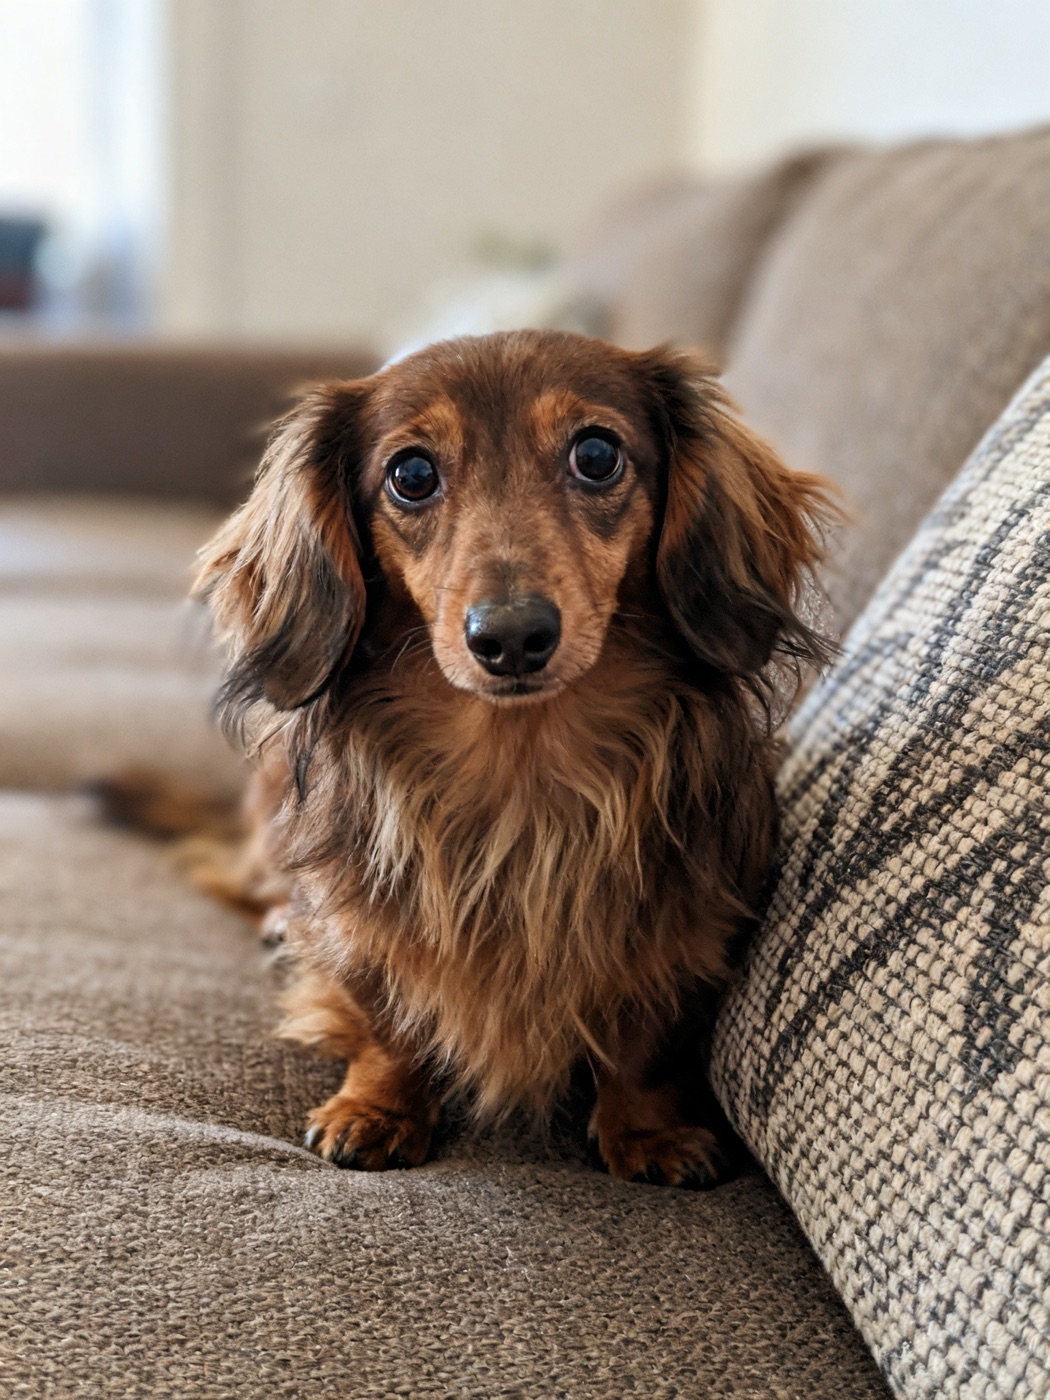 The phone photo Noodle's portraits started from
3. Get down to their level
Most pet photos are taken from standing height, looking down. That makes the head big, the body tiny and the eyes look up at you. For a portrait, kneel or sit so the phone is at the pet's eye level, or just a little below. The result looks like a portrait of an individual rather than a snapshot of a pet at your feet.
4. Fill the frame with the face
The portrait centers on your pet's face and upper body, so that is where the detail should be.
- Head and shoulders is the ideal framing. A sitting pet works well.
- Step back and zoom slightly rather than putting the phone right in front of the nose. Very close photos stretch the nose and shrink the ears, which is especially noticeable with flat faced breeds. Our French bulldog guide has more on that.
- Leave a little space around the ears so nothing is cut off.
Our portraits are framed in portrait orientation, taller than wide, so a vertical photo is a natural fit. A horizontal photo works if the pet is large in it.
5. Get the expression
Expression is what makes a portrait look like your pet in particular.
- Ears up: make a small noise just above the phone, or crinkle a treat bag.
- Eyes toward the camera: hold a toy or treat right above the lens.
- Calm: photograph after a walk or a meal, not at peak zoomies.
For cats, work with their habits instead of against them: the windowsill, the favorite chair, the sleepy hour after breakfast. The orange cat guide has more cat specific tips.
Black, white and two tone coats
These are the hardest coats for any camera.
Black pets. The phone tends to make a black coat a featureless shape. Use the brightest soft light you have, a big window or overcast daylight, and tap on the eyes so the phone exposes for the face. Avoid dark rooms and flash.
White pets. The opposite problem: bright light blows out the fur. Shade or a cloudy day keeps the texture.
Black and white pets. Both problems at once. Soft, even light is the only real answer. Our border collie guide walks through it with a sample.
Picking from photos you already have
Often the best photo already exists. When choosing between them, rank by: sharp eyes first, then expression, then light, then framing. Crop on your phone so the head and shoulders fill most of the image. A phone screenshot works if it is sharp and the pet fills the screen.
If the pet has passed away and only a few photos exist, our memorial portrait guide has advice for working with imperfect photos.
Check before you buy
You see the finished portrait before you pay. If the photo was not quite right, the preview usually makes that obvious: try another photo or another style. A few minutes of photo hunting at the start saves a lot of guessing later.
Updated October 8, 2026